When it comes to competitive matches, having the right settings can make all the difference. In this article, I’ll walk you through my exact settings—from sensitivity and field of view (FOV) to crosshair, keybinds, and Bloxstrap configurations. I’ll also explain why I use each setting, how it helps me perform better, and how you can replicate them for smoother gameplay.
My General Game Settings
Let’s start with the basics before moving into deeper customization.
1. Graphics and Display Settings
These settings ensure the game runs smoothly and avoids unnecessary lag.
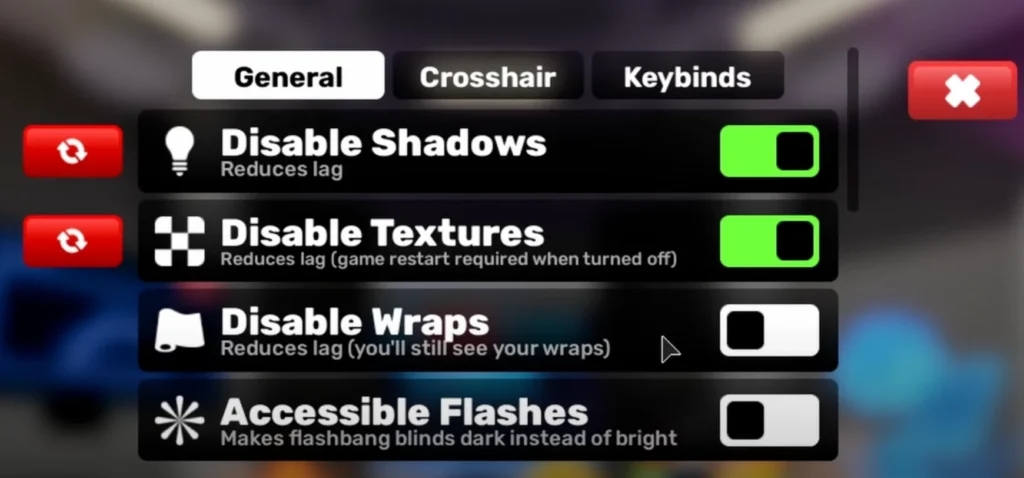
- Disabled Shadows: Turning shadows off makes the game run smoother and reduces lag.
- Disabled Textures: Works the same way as shadows; keeps gameplay smooth.
- Accessible Flashes: I usually keep this on. When flashbanged, the screen turns black instead of bright white, which prevents eye strain.
- Disabled Wraps: I keep this off because I like seeing other players’ wraps.
2. Sound Settings
Sound cues are important in matches, but balance is key.
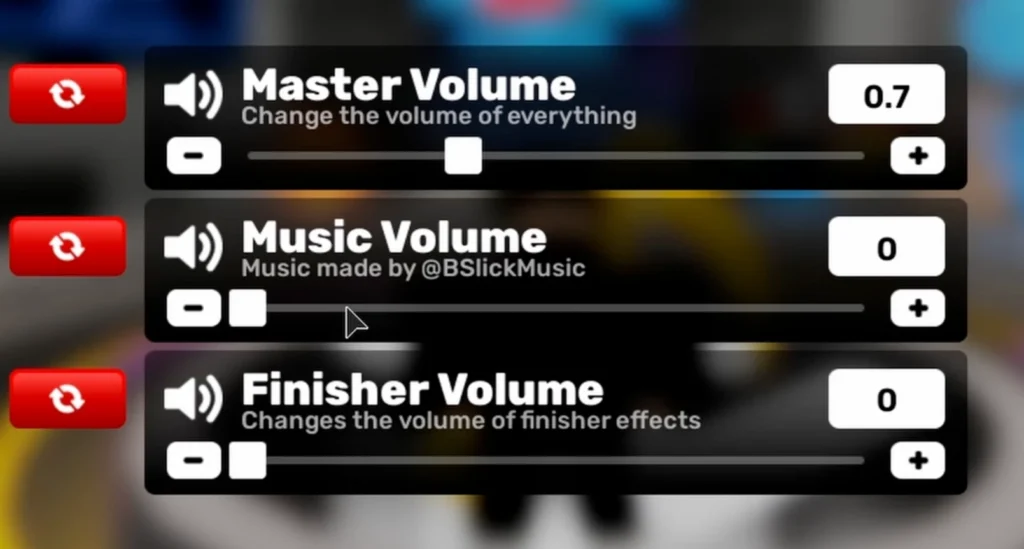
- Master Volume: 0.7 (perfect balance, not too loud, not too soft).
- Music Volume: 0.0 (to avoid distraction and copyright issues).
3. General Gameplay Toggles
- Toggle Aim: This is mostly for mobile, not relevant for PC.
- Easy Slide: I like this turned on—it makes sliding smoother.
- Scroll Equip: Yes, I prefer using the scroll wheel for quick weapon switching.
Sensitivity and FOV
One of the most important factors in aiming well is sensitivity.
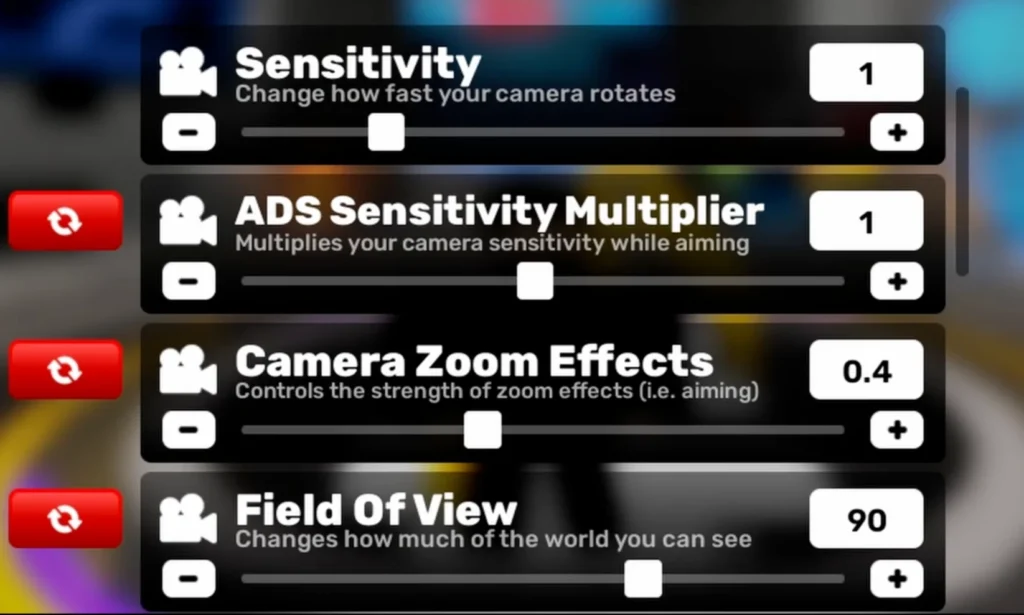
- ADS Sensitivity: Same as normal sensitivity (for consistency).
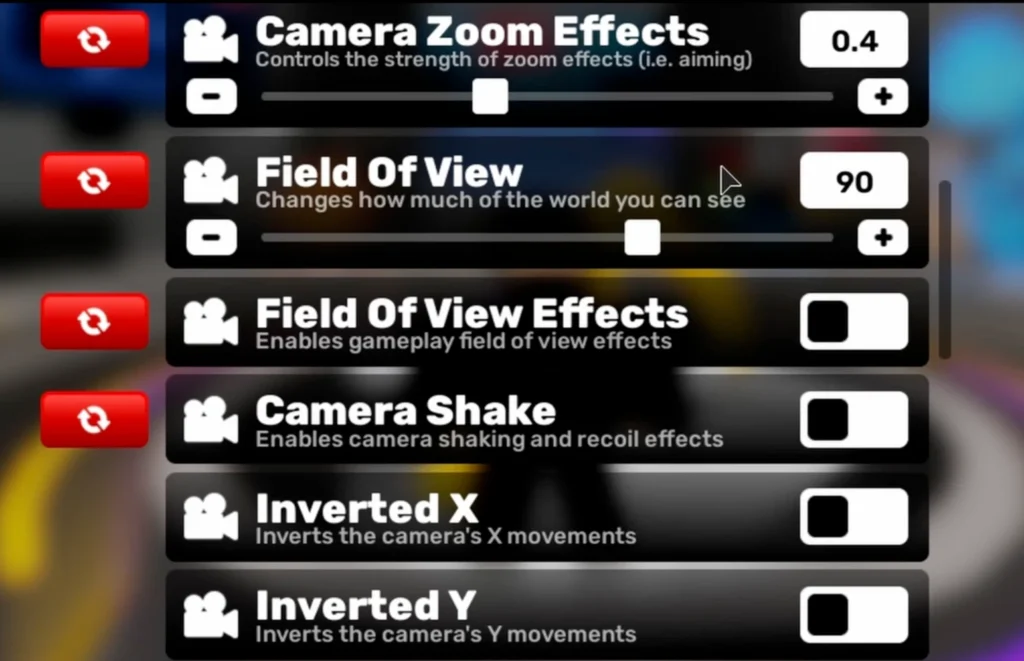
- Camera Zoom Effects: 0.4.
- Field of View (FOV): 90. I prefer it zoomed in; feels comfortable and helps my aim.
- Field of View Effects: Off (not necessary).
- Camera Shake: Off (helps accuracy).
Screen and HUD Settings
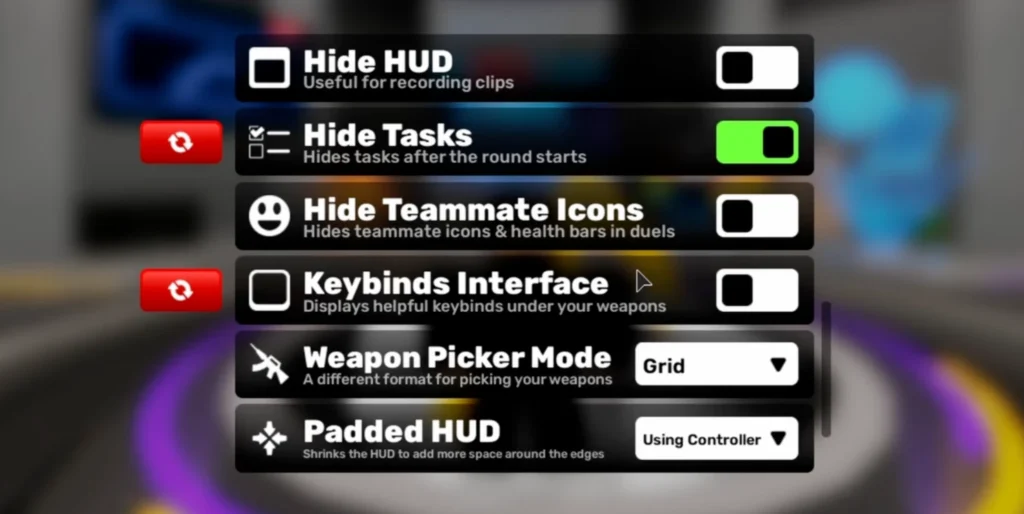
- Hide Tasks: On (tasks on the left are a distraction).
- Hide Teammate Icons: Off (important to recognize teammates).
- Keybind Interface: Off (since I’ve memorized all keybinds).
- Weapon Picker Mode: Grid (easier than scrolling through a list).
- Padded HUD: Mostly controller-related, so I ignore it.
- Signals: On (helpful communication tool).
- Damage Numbers: On (lets me know exactly how much damage I deal).
- Hide Muzzle Flashes: On (muzzle flashes can block visibility when aiming).
- Weapons Background: Default.
- Green Screen Mode: Useful if you’re recording videos, but not necessary for regular play.
Crosshair Settings
I like to change my crosshair from time to time. However, the one I usually use follows these parameters (shared directly from my in-game preferences):
- Crosshair Shape and Size: Configurable as per comfort.
- Color: Adjustable for visibility, depending on map and background.
(Tip: A simple green or white crosshair usually works best in different environments.)
Keybinds
Keybinds are critical because they influence speed and reaction time. Here are mine:
- Shoot: Default (Left Mouse Button).
- Aim: Default (Right Mouse Button).
- Reload: R.
- Inspect Weapon: T.
- Quick Melee: Q (close to W, easy to reach).
- Utility: F (also close to W).
- Jump: Spacebar.
- Crouch / Slide: Left Control or E (I mainly use E for sliding).
- Camera Toggle: N.
- Melee (Alternate): C (though I usually press “3” for melee).
- Signals: Default.
- Open Scoreboard: Tab.
- Hide HUD: H.
My Mouse Settings
- DPI: 800.
Roblox Settings
These are my preferred Roblox client settings that affect overall smoothness.
- FPS Cap: 9999 or 240 FPS.
- Language: English.
- Camera Sensitivity: 0.06.
- Graphics Quality: Between 2 and full, depending on performance needs.
What Is Bloxstrap?
Bloxstrap is a tool that improves FPS and allows customization of in-game visuals and behavior. With the right settings, you can improve clarity and overall responsiveness.
How Bloxstrap Helps
- Removes unnecessary effects that cause lag.
- Lets you edit fast flags for optimized performance.
- Can reduce distractions like sky effects and enemy colors.
My Exact Bloxstrap Settings
I use the same settings as a well-known configuration made by Slingshot Y. These are fast flag settings specifically designed for smoother FPS.
Here’s how to apply them:
Step 1: Open Bloxstrap
- Launch Bloxstrap on your PC.
Step 2: Configure Settings
- Go to Configure Settings.
- Navigate to Engine Settings.
- Scroll down and find Fast Flag Editor.
Step 3: Add New Preset
- Click Show Preset Flags.
- Select Add New.
- Name it whatever you want (e.g., “My Settings”).
Step 4: Import JSON Settings
- Click Import JSON.
- Copy the fast flag settings (shared in Discord or text format).
- To copy: highlight all → press Ctrl + C.
- To paste: go into the editor → press Ctrl + V.
Step 5: Save Settings
- Press OK to save.
- Restart the game for changes to take effect.
(Note: I didn’t press OK while explaining because I already have these settings active.)
Quick Recap of My Settings
Here’s a summarized table of the most important settings:
| Setting | Value/Option | Reason |
|---|---|---|
| Shadows | Disabled | Reduces lag |
| Textures | Disabled | Smoother performance |
| Accessible Flashes | On | Prevents eye strain |
| Master Volume | 0.7 | Balanced audio |
| Music Volume | 0.0 | Avoid distraction |
| FOV | 90 | Comfortable aim |
| ADS Sensitivity | Same as normal | Consistency |
| Camera Sensitivity | 0.06 | Precision aim |
| DPI | 800 | Smooth tracking |
| Graphics Quality | 2 or Full | Performance/flexibility |
| Crosshair | Customizable | Comfort and visibility |
| Weapon Picker Mode | Grid | Faster selection |
| Damage Numbers | On | Track hits clearly |
| Hide Muzzle Flashes | On | Better visibility |
| HUD Keybind | H | Quick toggle |
Why These Settings Work Well
- Consistency: Same ADS and normal sensitivity makes aiming predictable.
- Clarity: FOV at 90 and no camera shake keeps visuals stable.
- Performance: Disabling shadows/textures boosts FPS.
- Awareness: Damage numbers and no HUD distractions improve focus.
- Comfort: Keybinds are set near movement keys for quick actions.
Conclusion
These are my exact aimbot-related settings for Bloxstrap and Roblox. From sensitivity and FOV to crosshair, keybinds, and Bloxstrap’s fast flag setup, I’ve shared everything I use to perform at my best.
If you follow the step-by-step guide, you’ll be able to replicate my setup and test it for yourself. Adjust values slightly based on your own comfort, but keeping the core of these settings will ensure a smoother, more accurate gameplay experience.